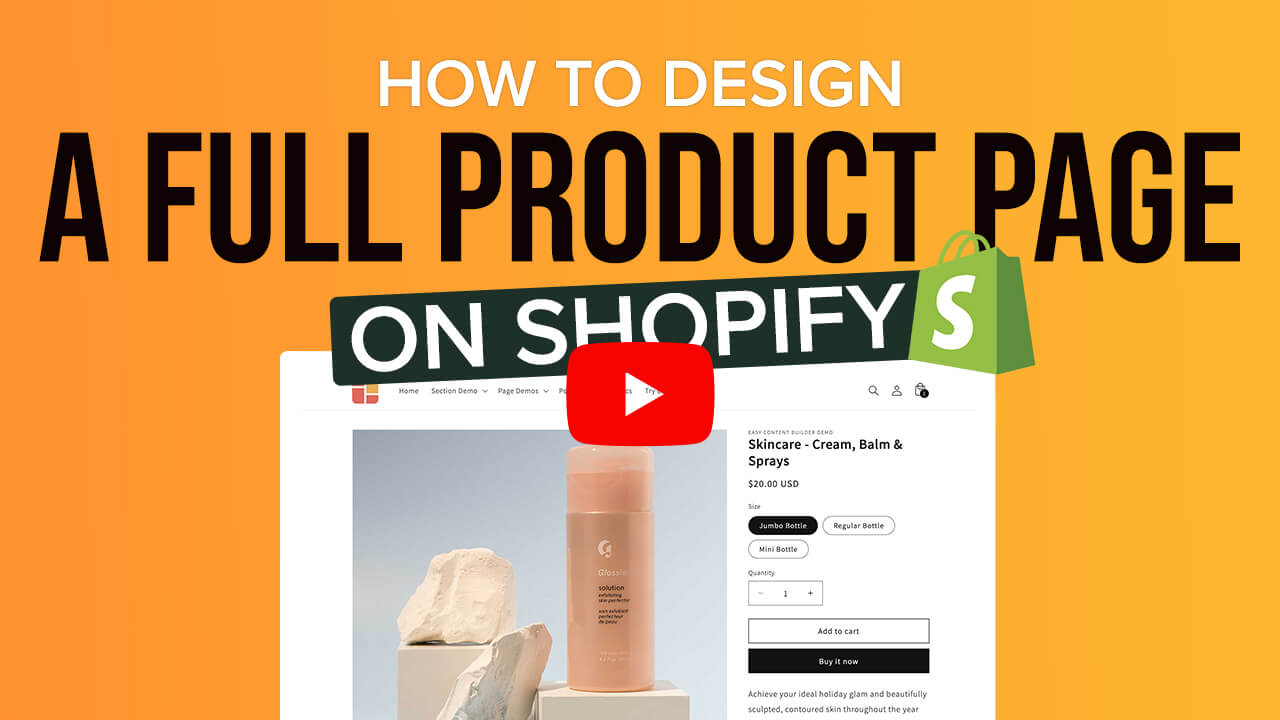
Just think about it: a few years ago, if you wanted to set up a custom Shopify product page or a detailed long-form page, you probably had to hire a Shopify agency or bring in some developers. But now, with Easy Content Builder, you can add advanced custom sections to your pages without touching any code.
Just start with your marketing ideas, you'll be able to turn them into a high-converting page in no time.
We've put together a video tutorial to show you just how easy it is. In just 20 minutes, you can create a complete Shopify product page (using the Dawn theme) with Easy Content Builder’s no-code sections. You won’t need any coding or design skills.
Before you dive into the video (link below), take a moment to scroll down for a quick overview of all the sections we’ll be building in this tutorial.
Buy Box enhancements
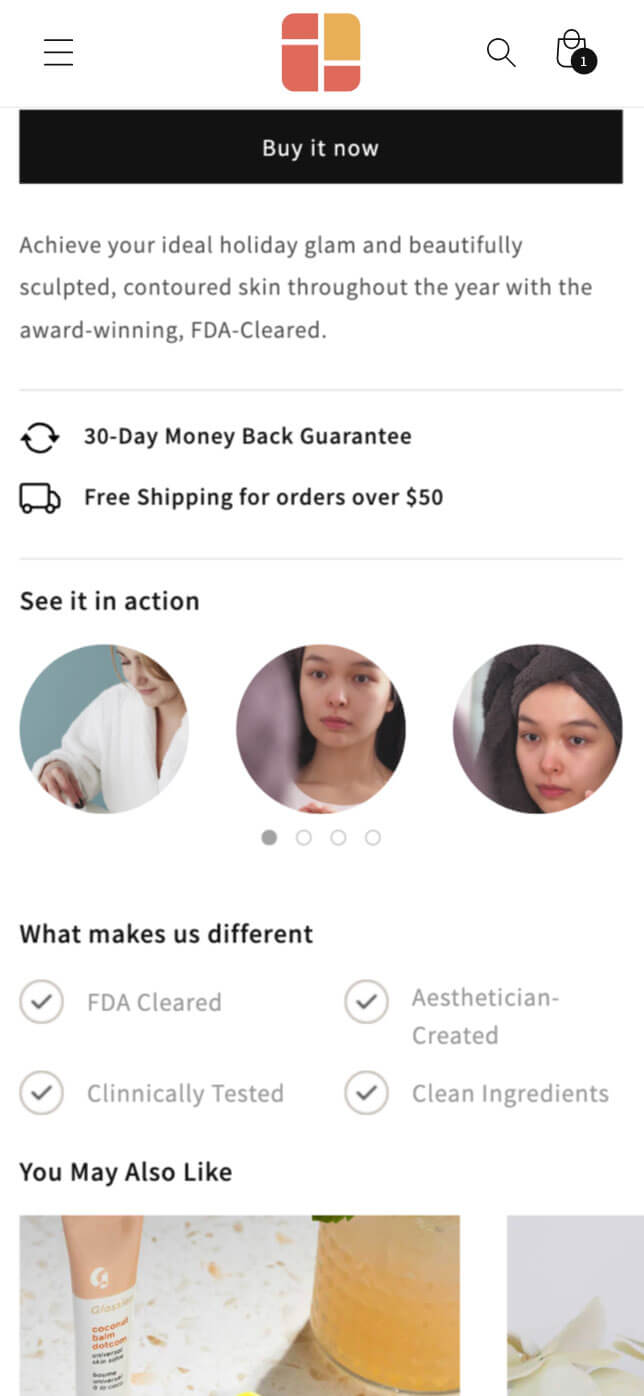
We're going to add four important sections right next to the Add to Cart button, and here’s what they’ll be:
- Free Shipping and Return Info (using Icons With Text): It’s super helpful to present this info all at once—ideally in a tidy, single line. Not having this key info can really hurt your sales.
- A Video Slider (using Video Slider): Showcasing user-generated content from YouTube, TikTok, or Instagram, along with how-to videos, is a fantastic way to keep customers engaged on your Shopify store. Since they can’t see or touch the products like in a physical store, these videos can really make a huge difference.
- Key Unique Selling Points (using Icons With Text): Showcase the key benefits that make your product the best choice for your customers. You can also use this section for Trust Badges or secure payment methods to build confidence.
- Recommended Products (using Item List): With the Item List section from Easy Content Builder, you can easily upsell by offering similar products or cross-sell complementary items. It’s a great way to increase your sales.
The video tutorial will demonstrate how you can make those sections more effective together and really help enhance your Shopify store.
Scrolling text bar

In this video tutorial, we're going to show you how to create an infinite scrolling text bar using the Icons With Text section. This is a great way to grab attention as users scroll down the page. If you want to give an extra pop to your announcements, feel free to move that scrolling bar to the header area.
The best part? You can use the same Icons With Text section to create all kinds of cool features like an auto-scrolling logo list, a product image slider, testimonials, or even a custom column with text. Just follow the same steps and get creative.
Certifications
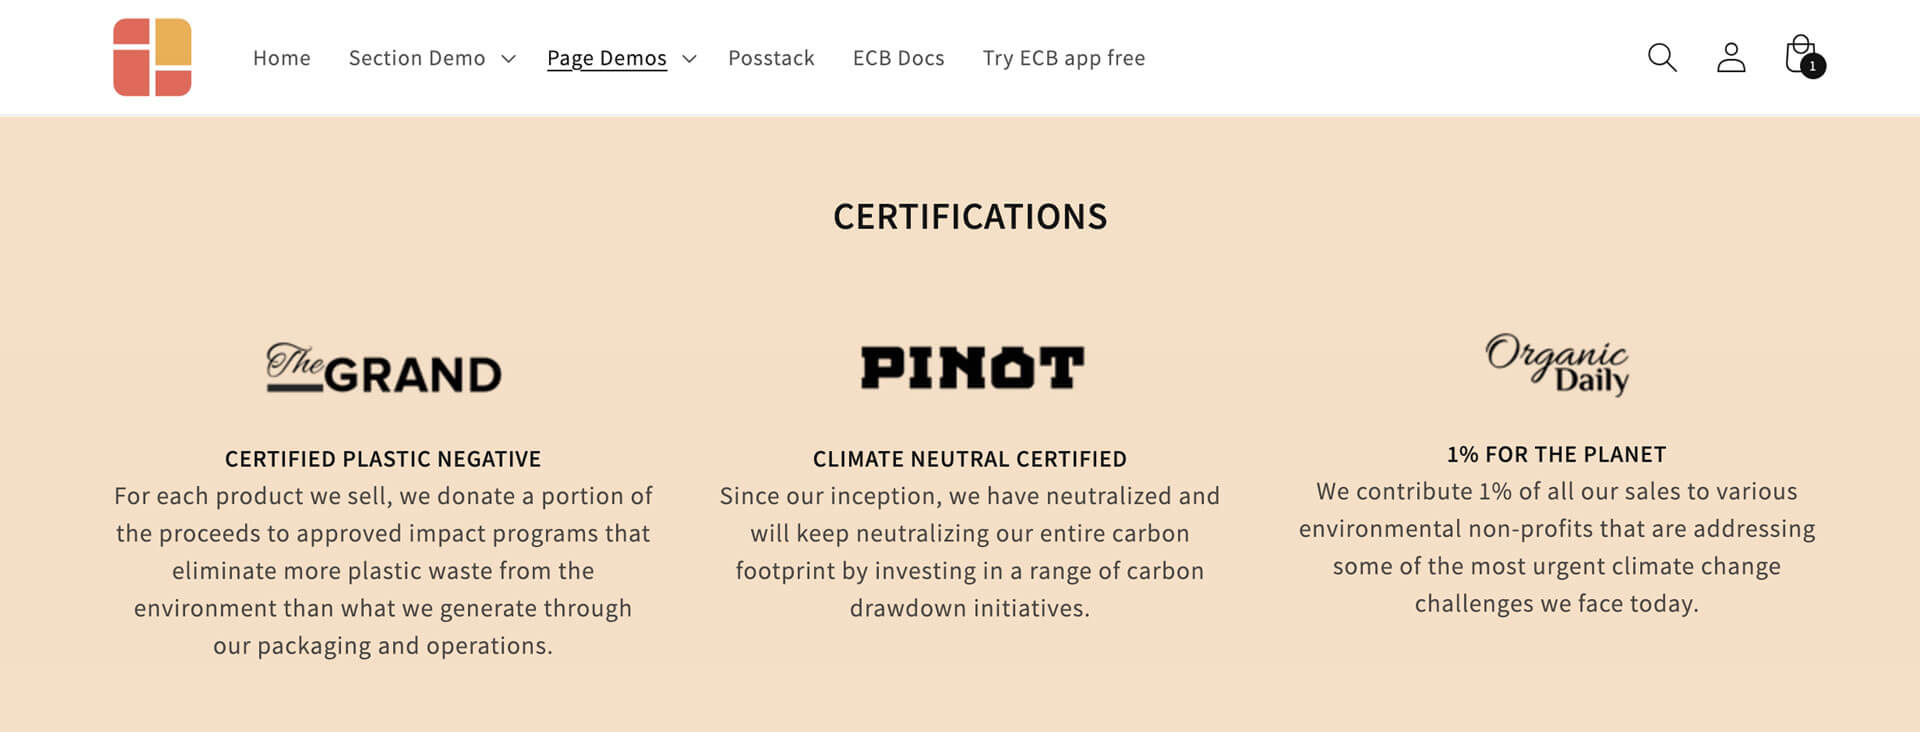
We put together a sample Certification section using the Icons With Text format, which fits perfectly within the Skincare & Cosmetic category. The great thing is, you can easily adapt these steps for different purposes. Imagine setting it up for Key Benefits, Featured Testimonials, or showcasing your Featured Media logos.
Feel free to customize the layout based on your niche—adjust the position of the logos/icons to the left, right, or bottom, and decide how many items you want per row. Plus, if you’re looking for a dynamic touch, you can even make this an infinite scrolling section! Just add a couple of extra classes we’ve set up for this marquee scrolling feature, and you’ll be all set, still using the same Icons With Text section. It’s super flexible.
How to
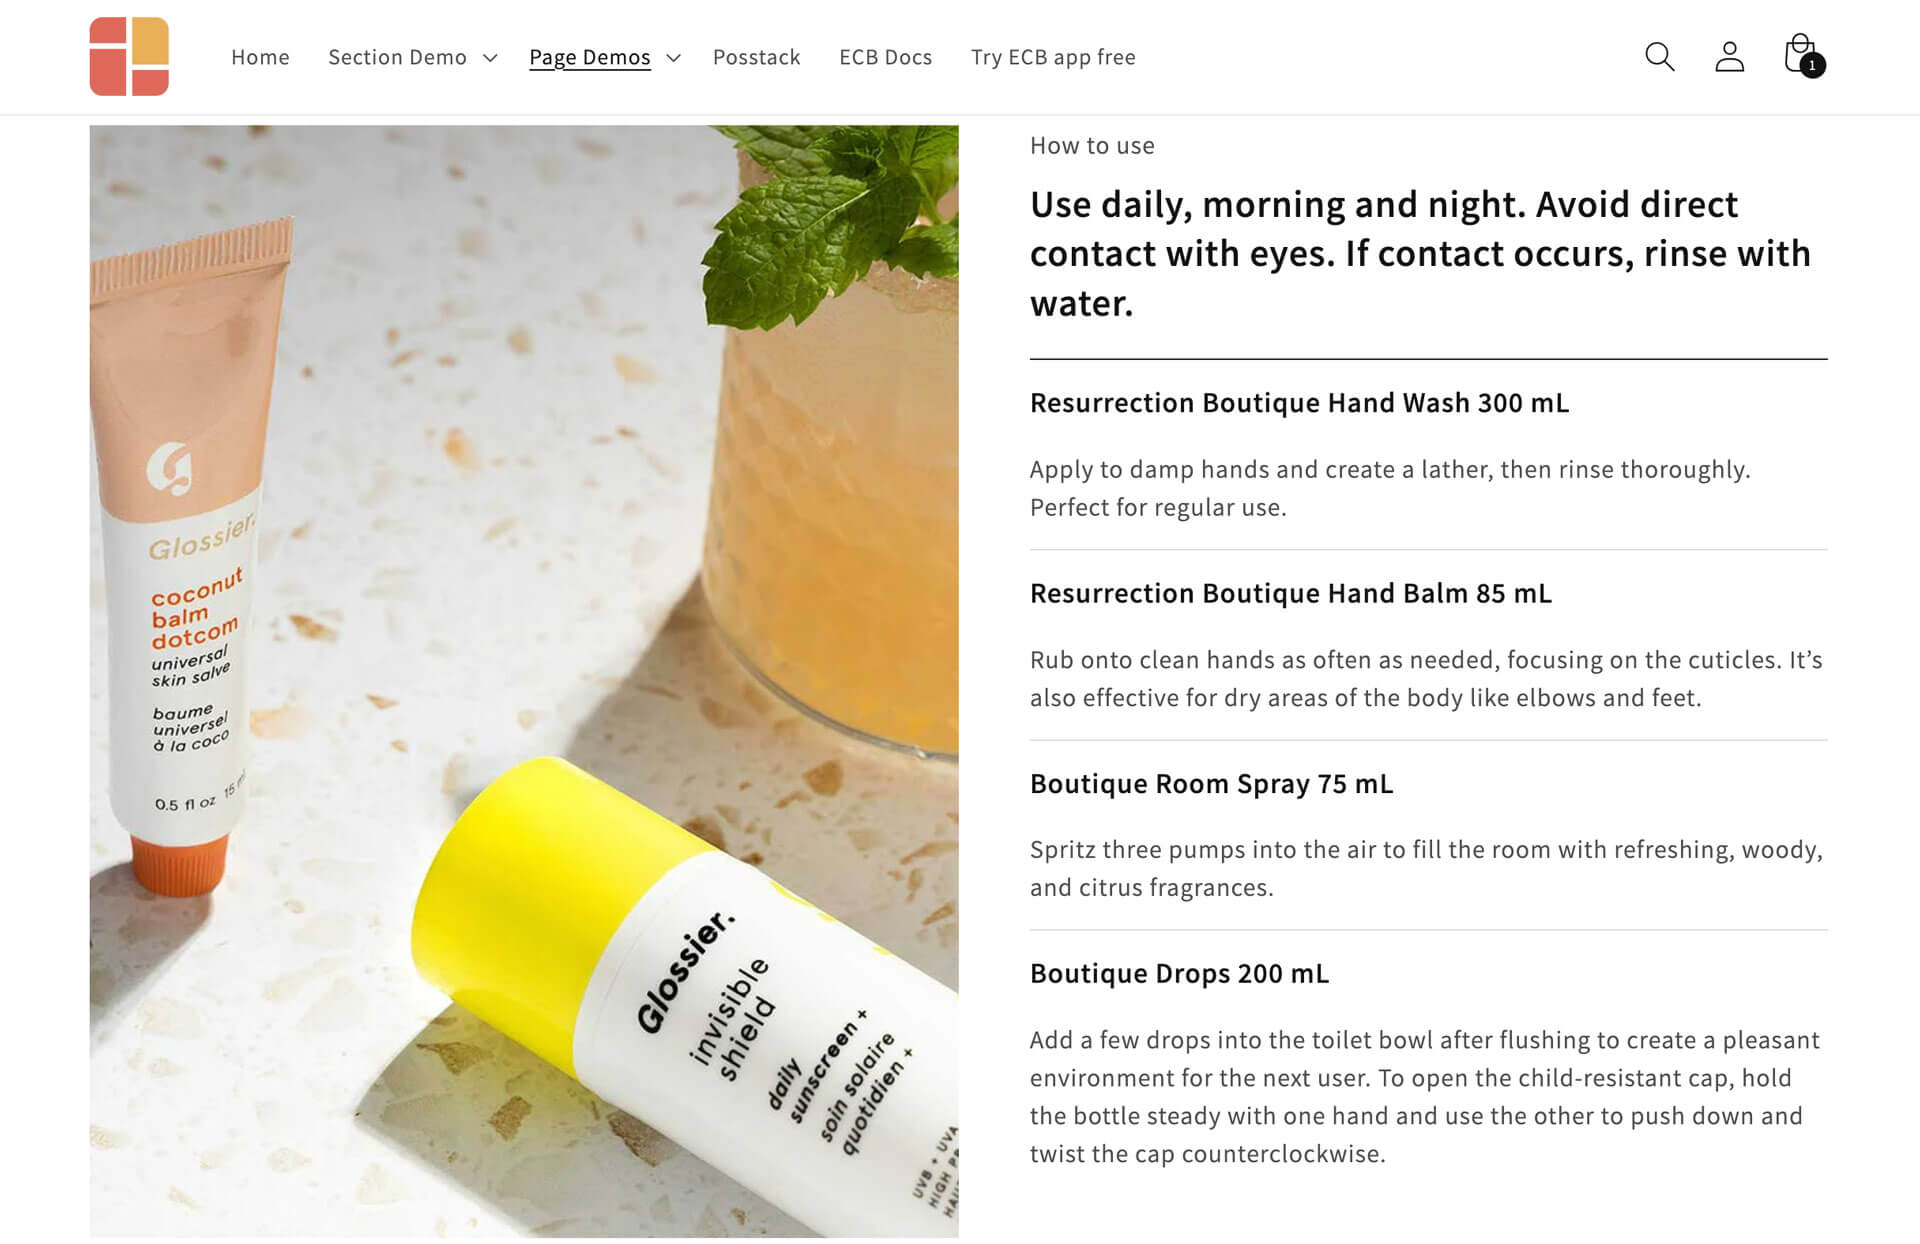
In this video tutorial, you'll discover a handy How-to section presented in a user-friendly 2-column layout. On the right, you can bring together a Section Title for your heading and add body text, using a Divider section to create a clean 1px line between text blocks. Over on the left, you can showcase an illustration image to complement the text.
If you think a bullet point list would work better for your How-to section, you can switch to the Icons With Text section. It adds a nice touch! And if video content fits your style better, don’t hesitate to use the Video section to showcase how-to videos instead. It’s all about finding the right fit for your audience.
Key benefits
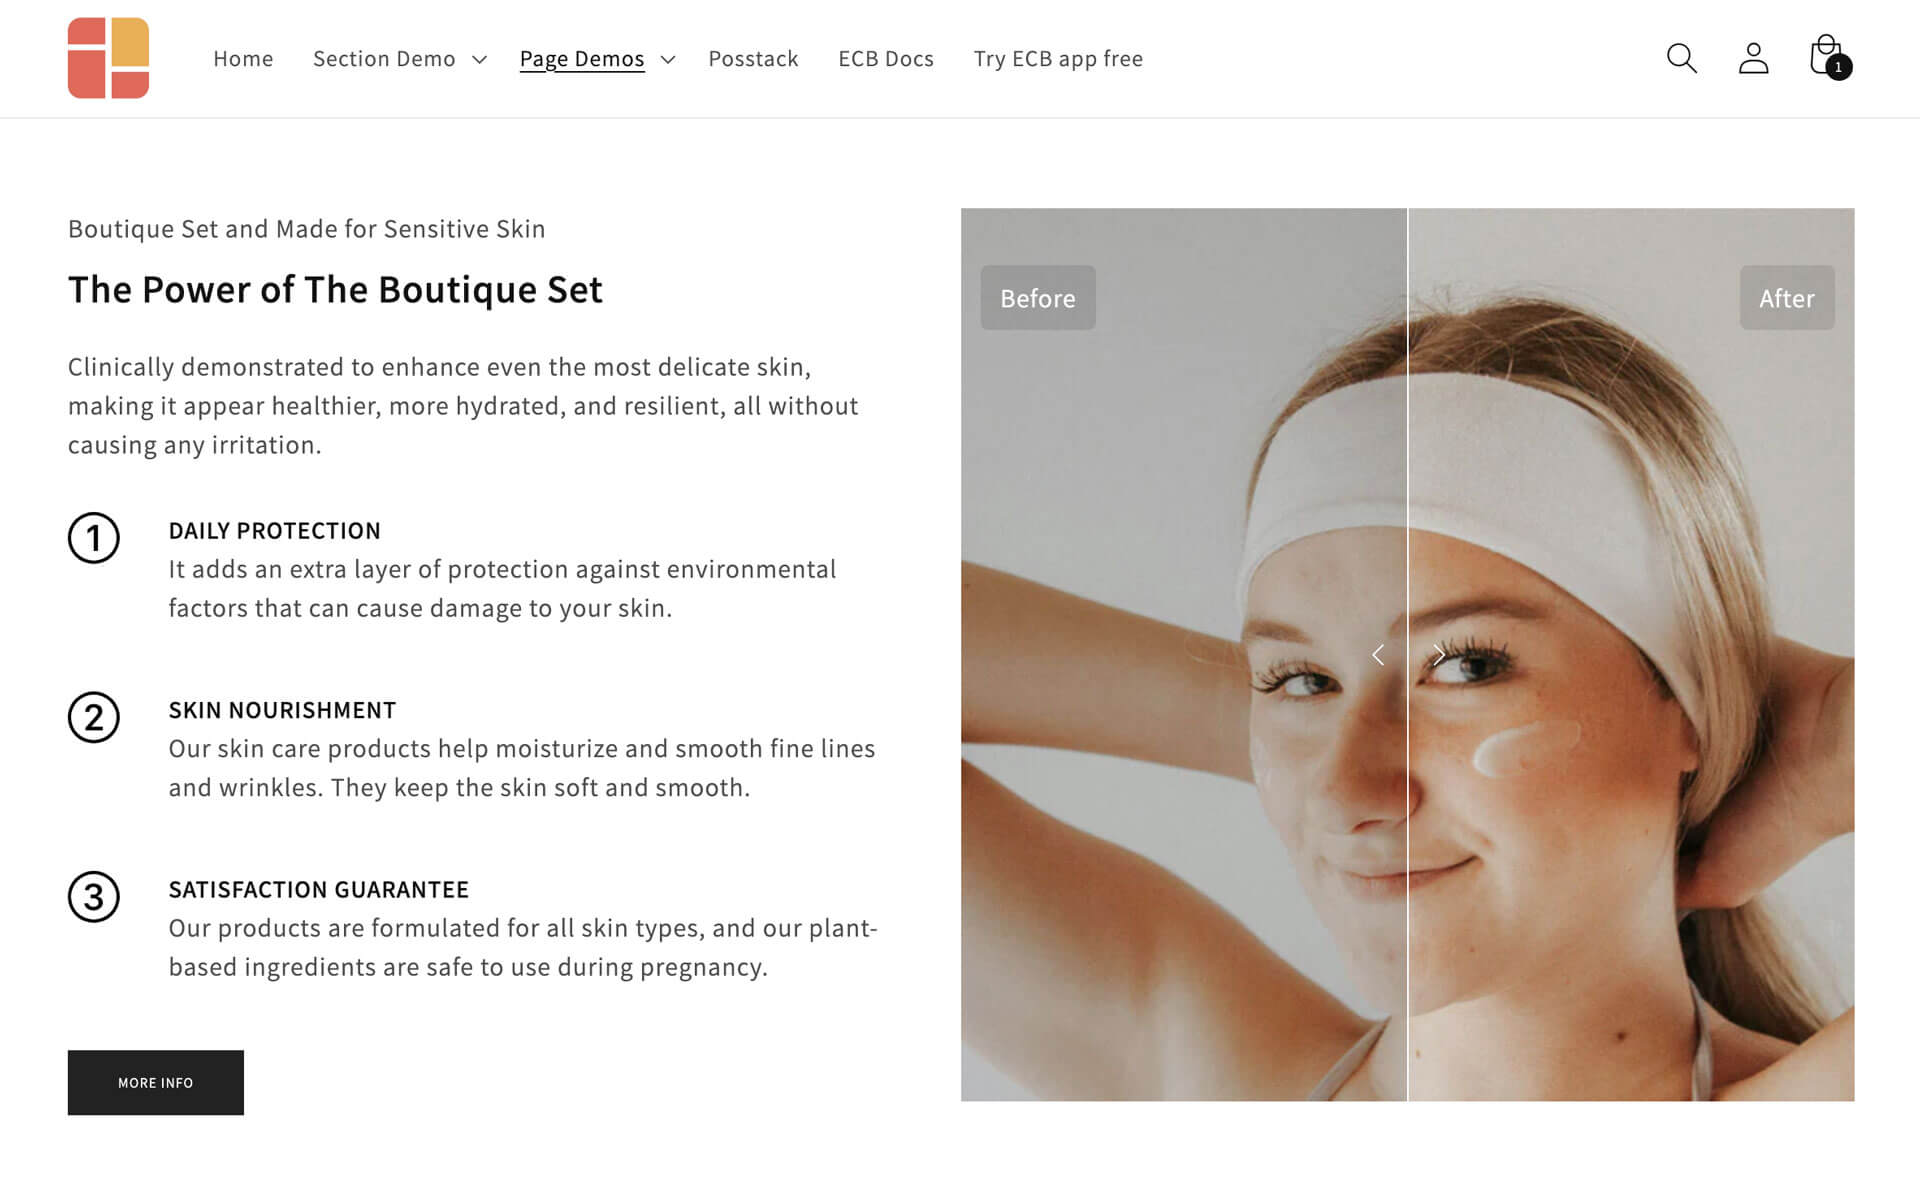
After the Certifications section, this video tutorial will help you create another friendly 2-column layout. In the right column, you’ll set up a Before & After image slider to showcase the amazing results from using your cosmetic products. It’s a fantastic way to visually highlight the transformation.
On the left, you can get creative by mixing three sections: start with a Section Title for a brief heading, add a description and tagline, then use the Icons With Text section for a neat bullet point presentation. To wrap it all up, you can include a Button section for your call-to-action—feel free to add multiple buttons if you’d like.
Review (Placeholder)
For any skincare, beauty, or Shopify store, reviews and testimonials are real treasures that can boost your conversion rate. Let’s face it—most people check out reviews before making a purchase, so it’s super important to display the rating and review right next to the Product Title and within your product page as well.
In this video tutorial, we’ll add a Review placeholder using our Section Title just for demonstration. However, you’ll likely want to use a third-party Review app to manage this feature, and that’s perfectly fine! Just stick with the app that best suits your needs to highlight these important pieces of content clearly. If you’re just starting out with a new Shopify store, you can also utilize handy sections from Easy Content Builder like Icons With Text or Images With Text to showcase your featured testimonials—whether in a static format or as auto-scrolling testimonials.
Video Slider
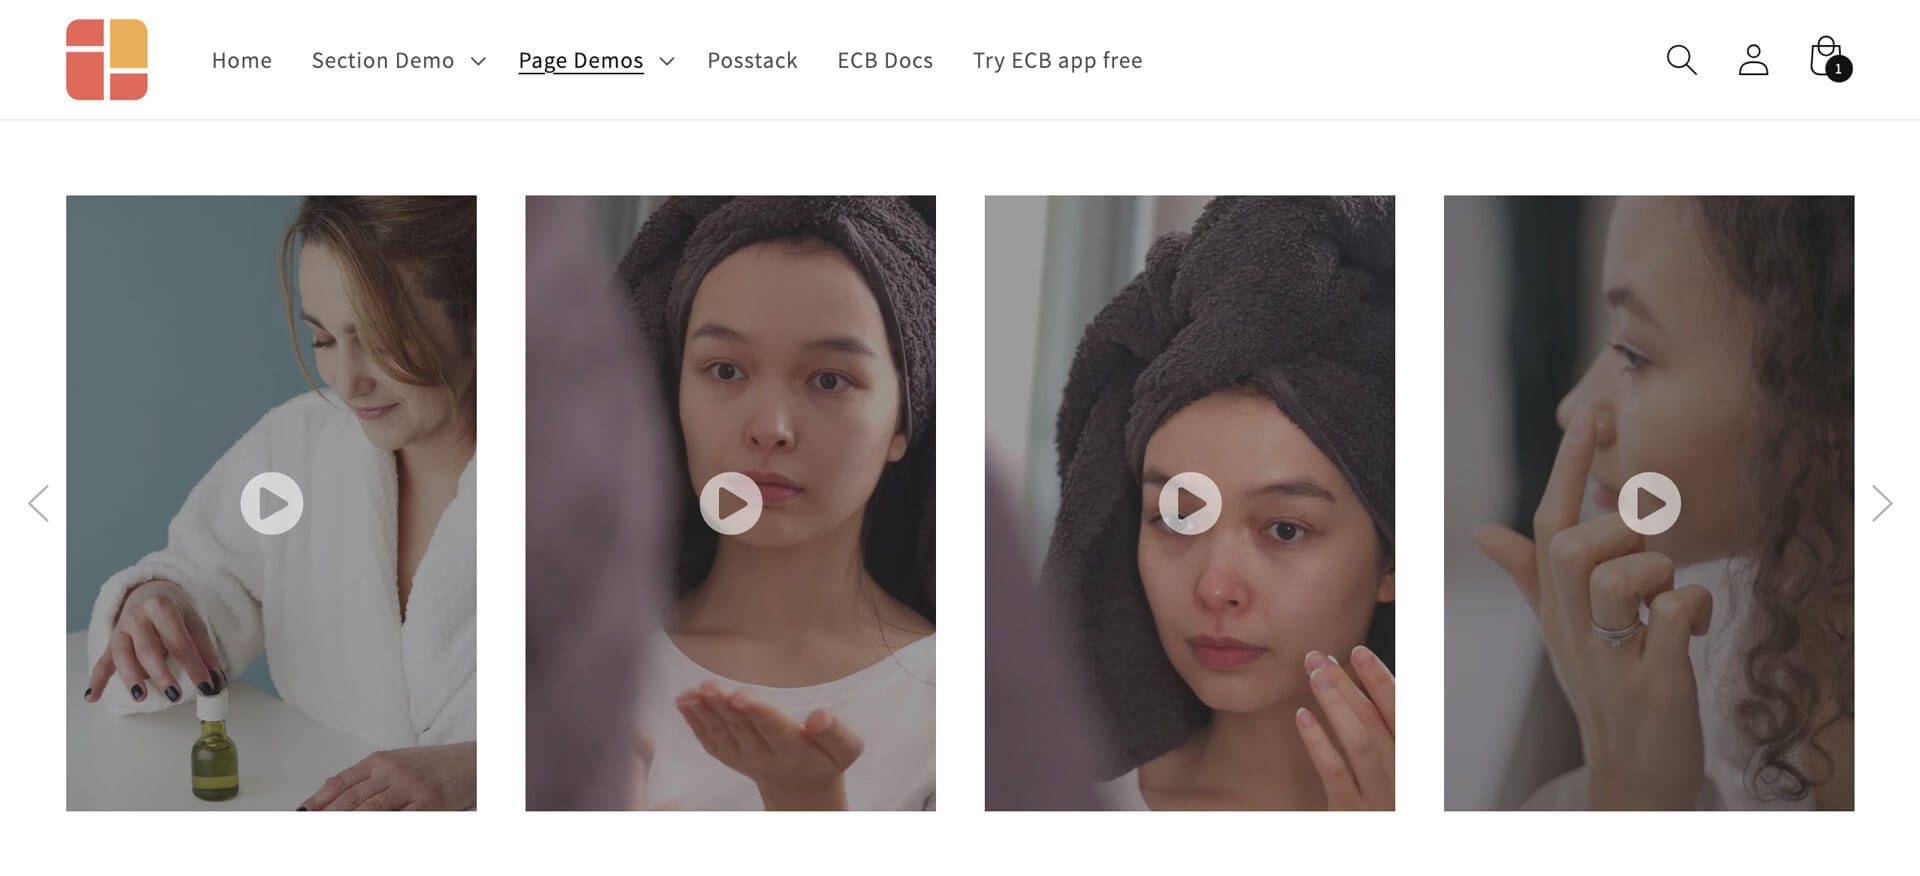
While watching the video tutorial, you'll notice we incorporated the video slider in two spots—next to the Add to Cart button and right within the product page's body. So, why are videos such a big deal?
Well, adding videos to your Shopify product page can really help boost your sales. They allow customers to see your products from different angles and can increase the time they spend browsing your store. In our tutorial, we set up a video carousel using the Video Slider section, so when users click on a video, it pops up in a nice modal for an easy viewing experience.
Just a quick tip: Easy Content Builder offers four super simple ways to add videos to your Shopify page. Be sure to check out one of these two video tutorials (here and here) to find the option that works best for you.
Product comparison chart
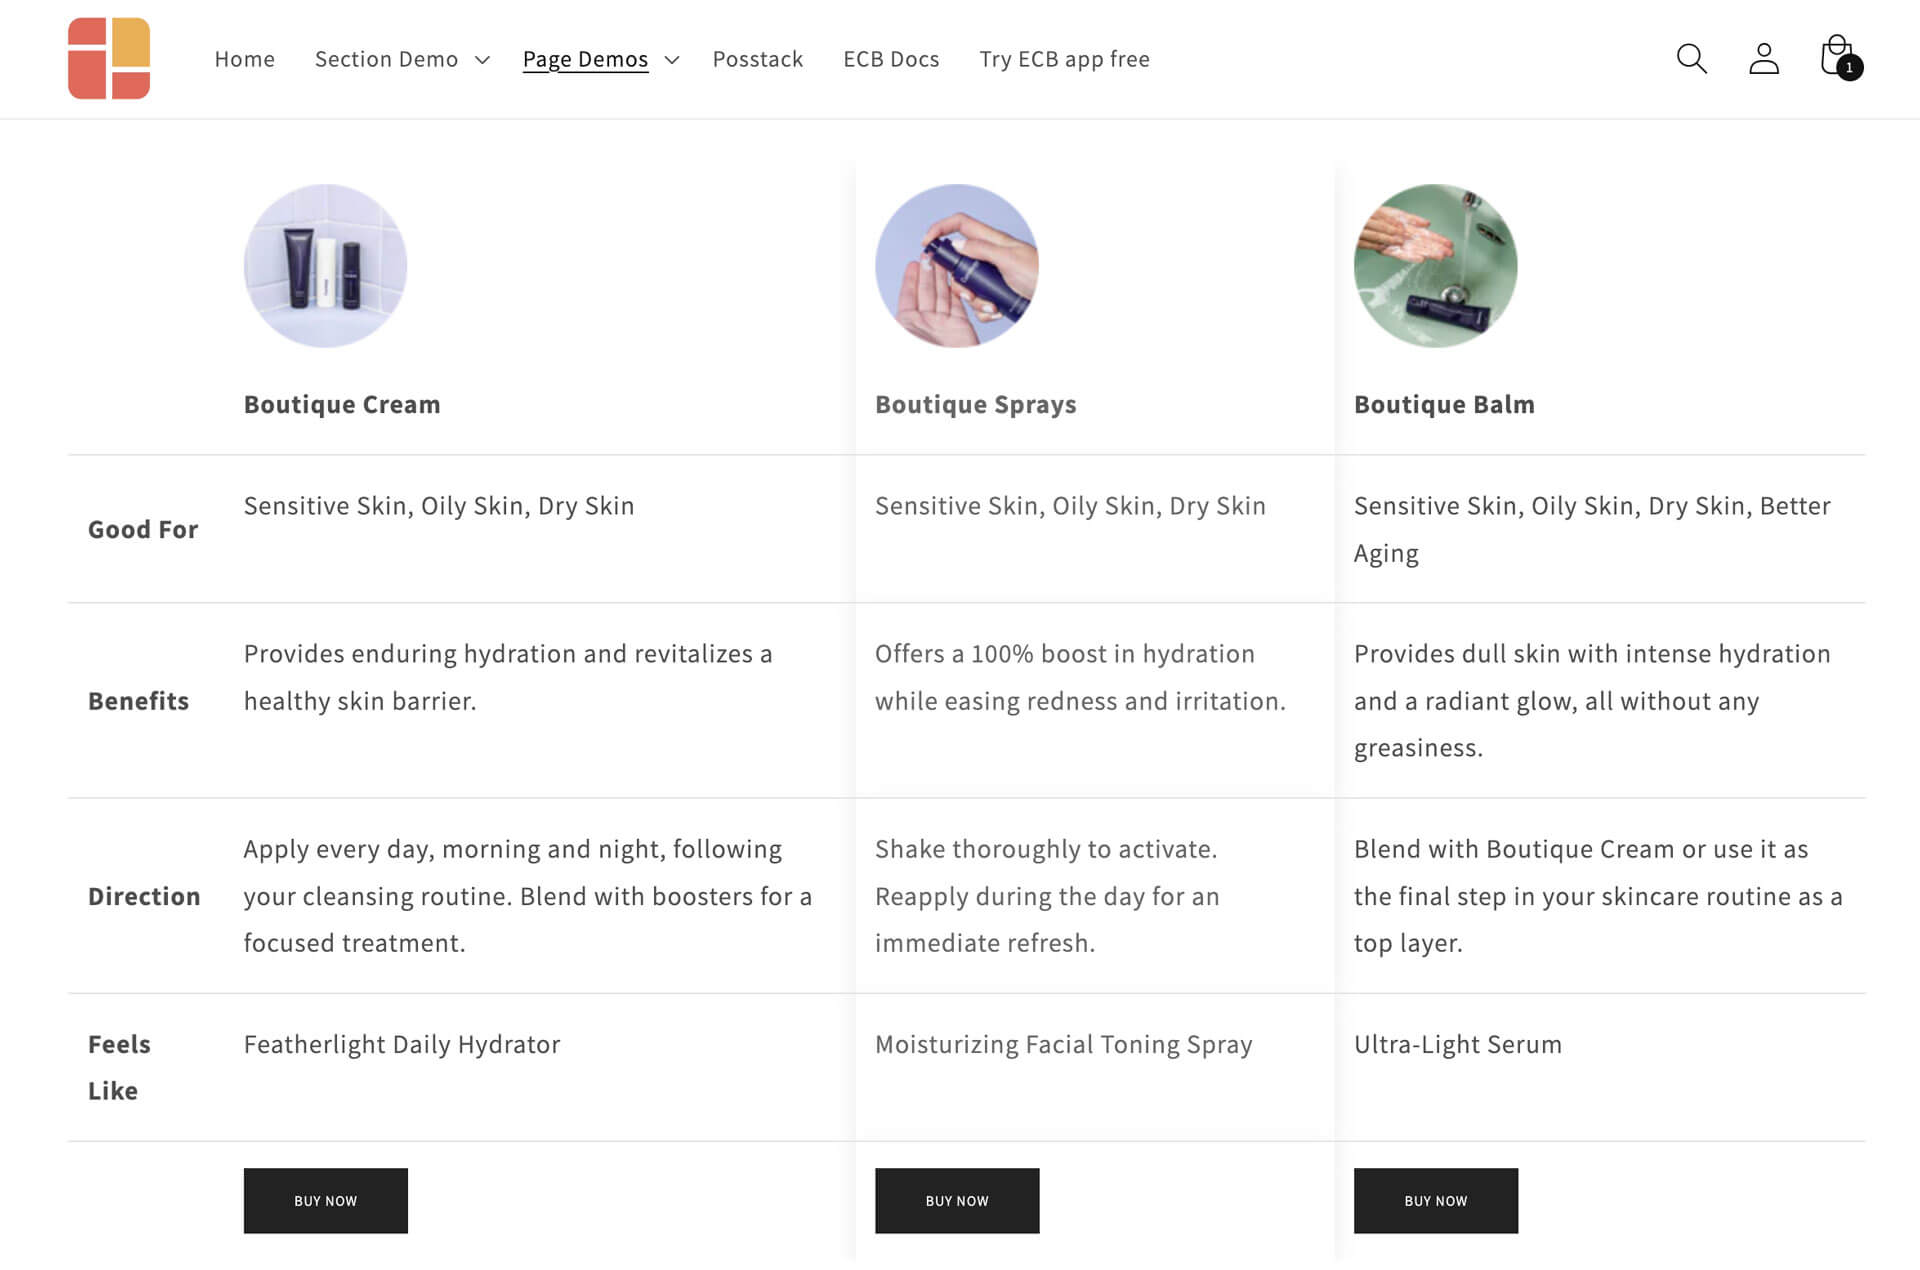
Another fantastic section you’ll find in the video tutorial is the product comparison chart, which we set up using the Table section.
Adding a product comparison chart to your product page is one of the best ways to improve your conversion rate (CRO). It really helps customers make informed decisions.
With the Table section, Easy Content Builder makes it super simple to set up comparison tables on any page without any coding. These fully responsive tables allow users to easily compare the features of each product side by side. To create your comparison table, just start with a spreadsheet in Google Docs or Excel. Place your comparison content side by side, with your headings in the first row, and include your CTA button. Once you’re done, download it as a CSV file.
From there, you can manage all the table styles and upload any featured images for your chart if you choose to use them. It's a straightforward way to help your customers make informed decisions.
Article carousel
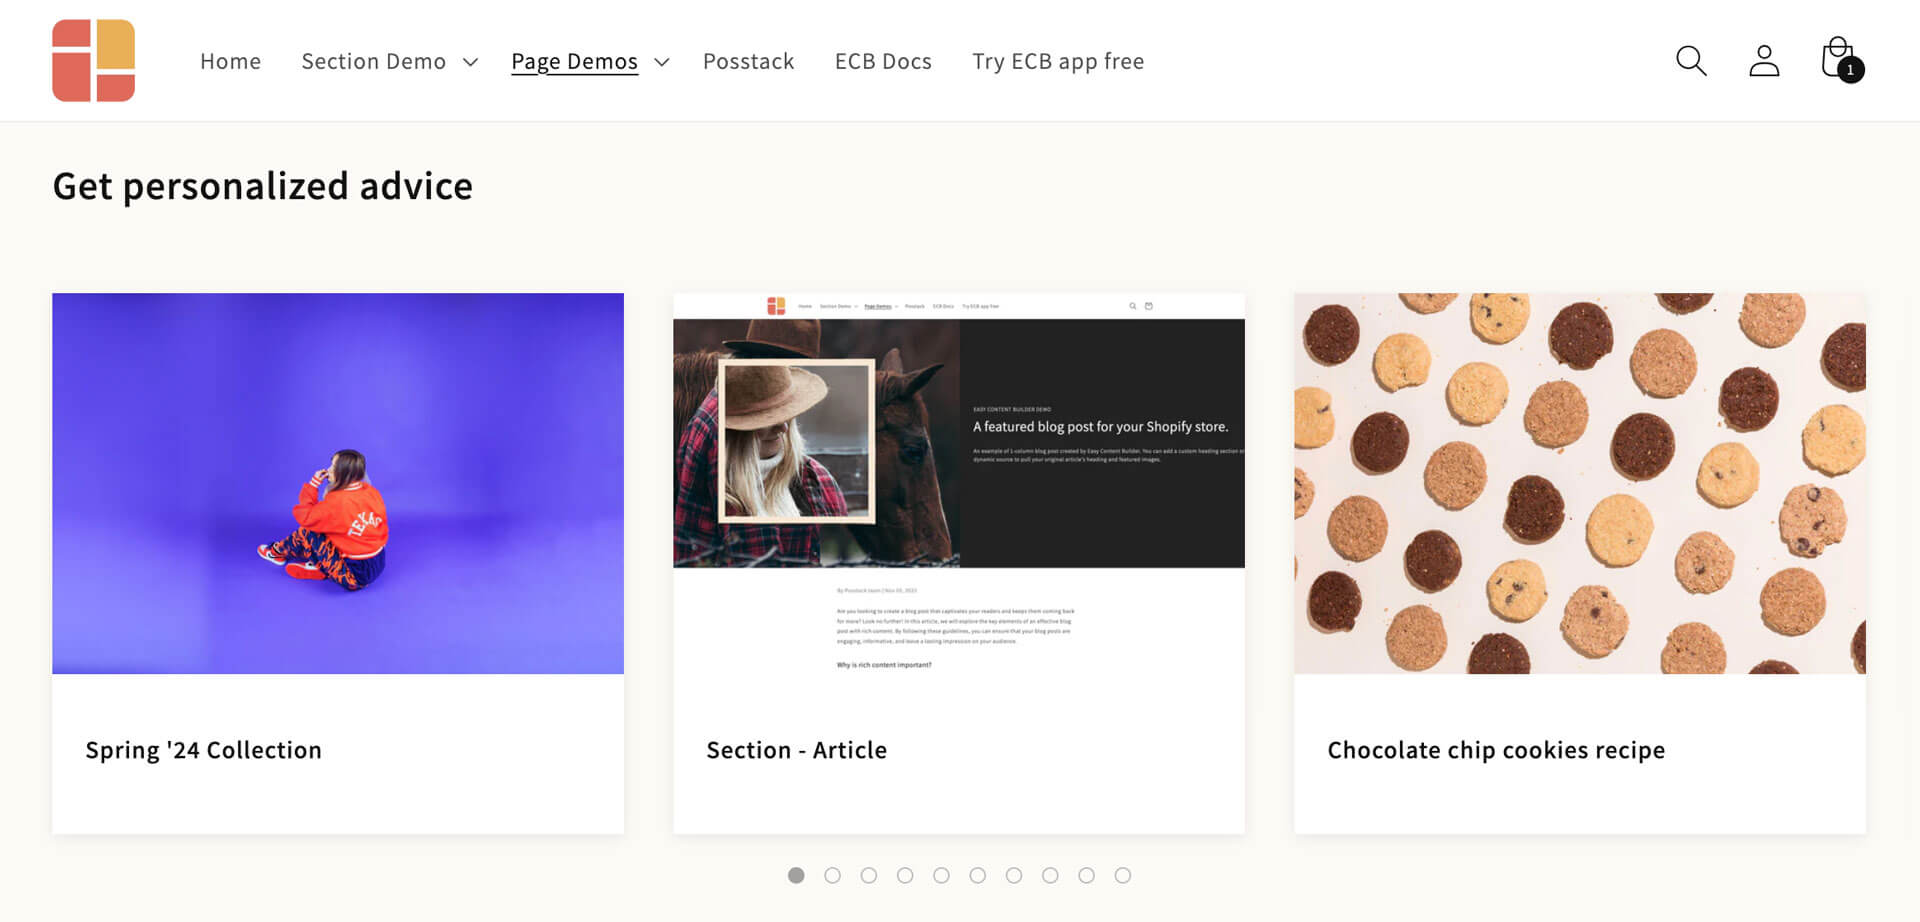
To wrap up the video tutorial, the last section we’ll cover is the Blog Post carousel. Adding articles to your product page is totally optional and really depends on your marketing strategy. If you're investing in in-depth instructions, expert advice, and other valuable content, then showcasing those articles on your product page can really enhance your offerings.
With the Item List section, you can automatically pull in those articles and display them in a neat carousel. If you only want to highlight a few specific articles instead of the entire list, you can also use the Image With Text section for that.
And that’s it. You’re all set to enhance your product page with some awesome content.
Conclusion
We hope that this 20-minute video tutorial shows you just how easy it is to start building an effective Shopify product page on your own with the help of Easy Content Builder.
You won’t have to wait around for back-and-forth communication with a developer or agency. All you need to do is gather the copy and images for your product page. From there, you can add related sections with zero coding required and tweak the space to keep everything balanced.
If you have any questions about the sections we covered or anything regarding Easy Content Builder, feel free to leave us a comment below. Enjoy building your unique Shopify product page. You've got this!
